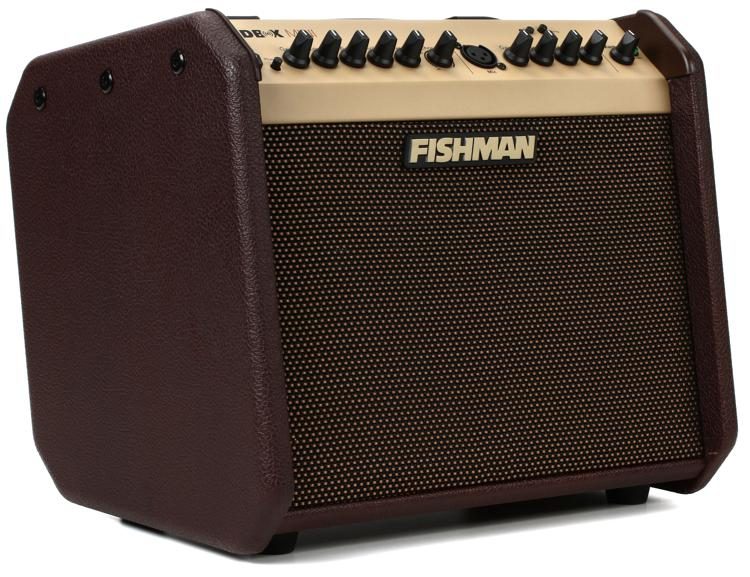
Since I got this amp, I have gigged with it a bunch of times! The Tolex has a couple of dings, and the faceplate has a couple of minor scratches; about what I’d expect from regular use. Mind you, it’s not that I don’t take care of my stuff, but gigging takes its toll on any gear and dings and scratches are the price you pay.
That the Deluxe has survived those “battle scars” (plus being knocked over a few times) is a testament to its ruggedness. I’ve had lots of other gear that was so delicate that I’d never gig with it. And to be honest, if I can’t gig with it, it’s practically useless to me. But the Deluxe has not only survived the rigors of regular gigging, but it still sounds incredible!
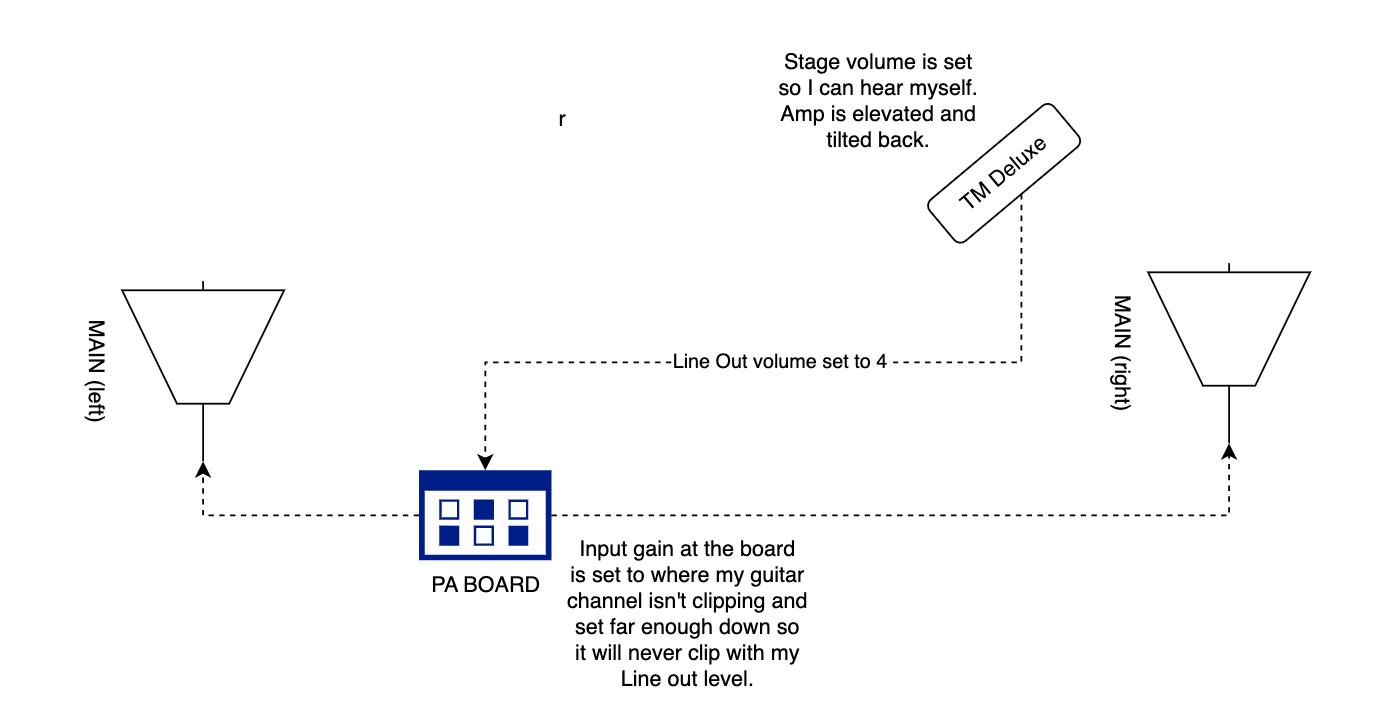
To this day, I have only opened it up to the full twenty-two watts once. The way my band’s sound is set up, I usually only need enough volume to hear myself; that is, unless our lead guitarist decides to crank it, and by that time, everything goes to shit. Though, for the most part, I keep it attenuated to 1 or 5 watts and even 0.5 watt for small venues, then use the line out to run my signal into the board. With the attenuator, I can still get good overdrive through the pre- and power amp stages (I know, it’s simulated rather than being real), and it sounds damn good! When I hit it with a booster or an overdrive pedal, it takes it over the edge, acting so much like a tube amp, I forget that it’s a digital amp!
And I suppose it could be argued that I’m not getting the full range of sonic content from my amp because I’m not pushing SPs. But I’d rather keep the hearing I have left than push the amp to a volume that introduces speaker distortion, something that in the end is merely nuance and frankly, only matters to me. Besides, since my sound reinforcement is coming from the PA, that’s a moot point.
If there is one negative mark I might give to the amp, it does not work well with distortion pedals, especially high gain distortion pedals. I hooked up my trusy EWS Little Brute Drive distortion pedal to my board to try it out, and it was off in 20 minutes! It sounded mushy in the mids and lows and spiky sharp in the highs. I tried to tweak my EQ pedal to compensate and while I could achieve a passable sound, passable wasn’t good. Passable isn’t inspiring.
I did try it out with an old ’80s MXR distortion (the gold one, MX-104) that I still have from way back when, and it was much better, like insanely better. But I think that pedal has a lot lower output than the Little Brute Drive so it worked better with the amp. Even still, the sound wasn’t nearly as good a sound as I get with my Tumnus, Abunai 2, Belle, or Timmy. All my overdrives work great with the amp which leads me to believe it was built for use with overdrives, prefering a mix of gain and soft clipping coming from the pedal. I don’t know this for certain, but based on my personal experience, it seems plausible.
For those who’ve read my blog for a while, you may remember that I was a huge Boss Katana fan. I still am, and still have the amp. In fact, it turns out that the “problem” that I seemed to have with it wasn’t the amp at all, but a bad patch cable. Oh well… But since I’ve had the Deluxe, I totally get what Fender was after with the Tone Master amps: Do one thing really, really, really well. And at least with the Deluxe, they got it in spades!
And there’s a lot to be said for keeping things simple. Though I love the Katana, I had to spend a lot of time dialing in the different channels with the right combination of effects. Once I got the process down, it was easy, but there were still a lot steps. On the other hand, with the Deluxe, I set the volume and amount of reverb I want. That’s it. EQ is all in the middle because I use a graphic EQ on my board. So, setup for my rig is literally a 5-minute affair, if that.
Finally, the Tone Master Deluxe weighs only twenty-three pounds. At my age, gear weight becomes a factor. The Katana weighs almost twice that. Yes, I can still lift it but lugging 23 pounds vs 45 pounds… there’s a substantial difference between the two. I’ll take the lighter option, thank you.
It hasn’t all been just rock and roll. I’ve used the amp several times at church. For that gig, I use my Taylor T5z as I can get a nice acoustic-like tone out of it then switch to an electric tone when needed, and as with my classic rock band, my sound reinforcement comes from the PA. My setup is a little different because I set the amp to clean. Any distortion I need comes from my overdrive pedals. Set up as a clean platform, the amp performs as expected. There’s nothin’ like Fender cleans.
In closing, I have no regrets about buying this amp. It has been a trusty companion for all types of gigs and venues I’ve played. Yes, there may be less expensive options that have more bells and whistles, and I agree with the point that if you buy Fender or Gibson, you pay a premium for the name. But in this case, the gear delivers. You can’t put a price on great sound.